To Login into rfxcel mobile App
- Tap on the "rfxcel mobile" icon (
 ) in your scanning device.
You will see the following rfxcel mobile App Login screen:
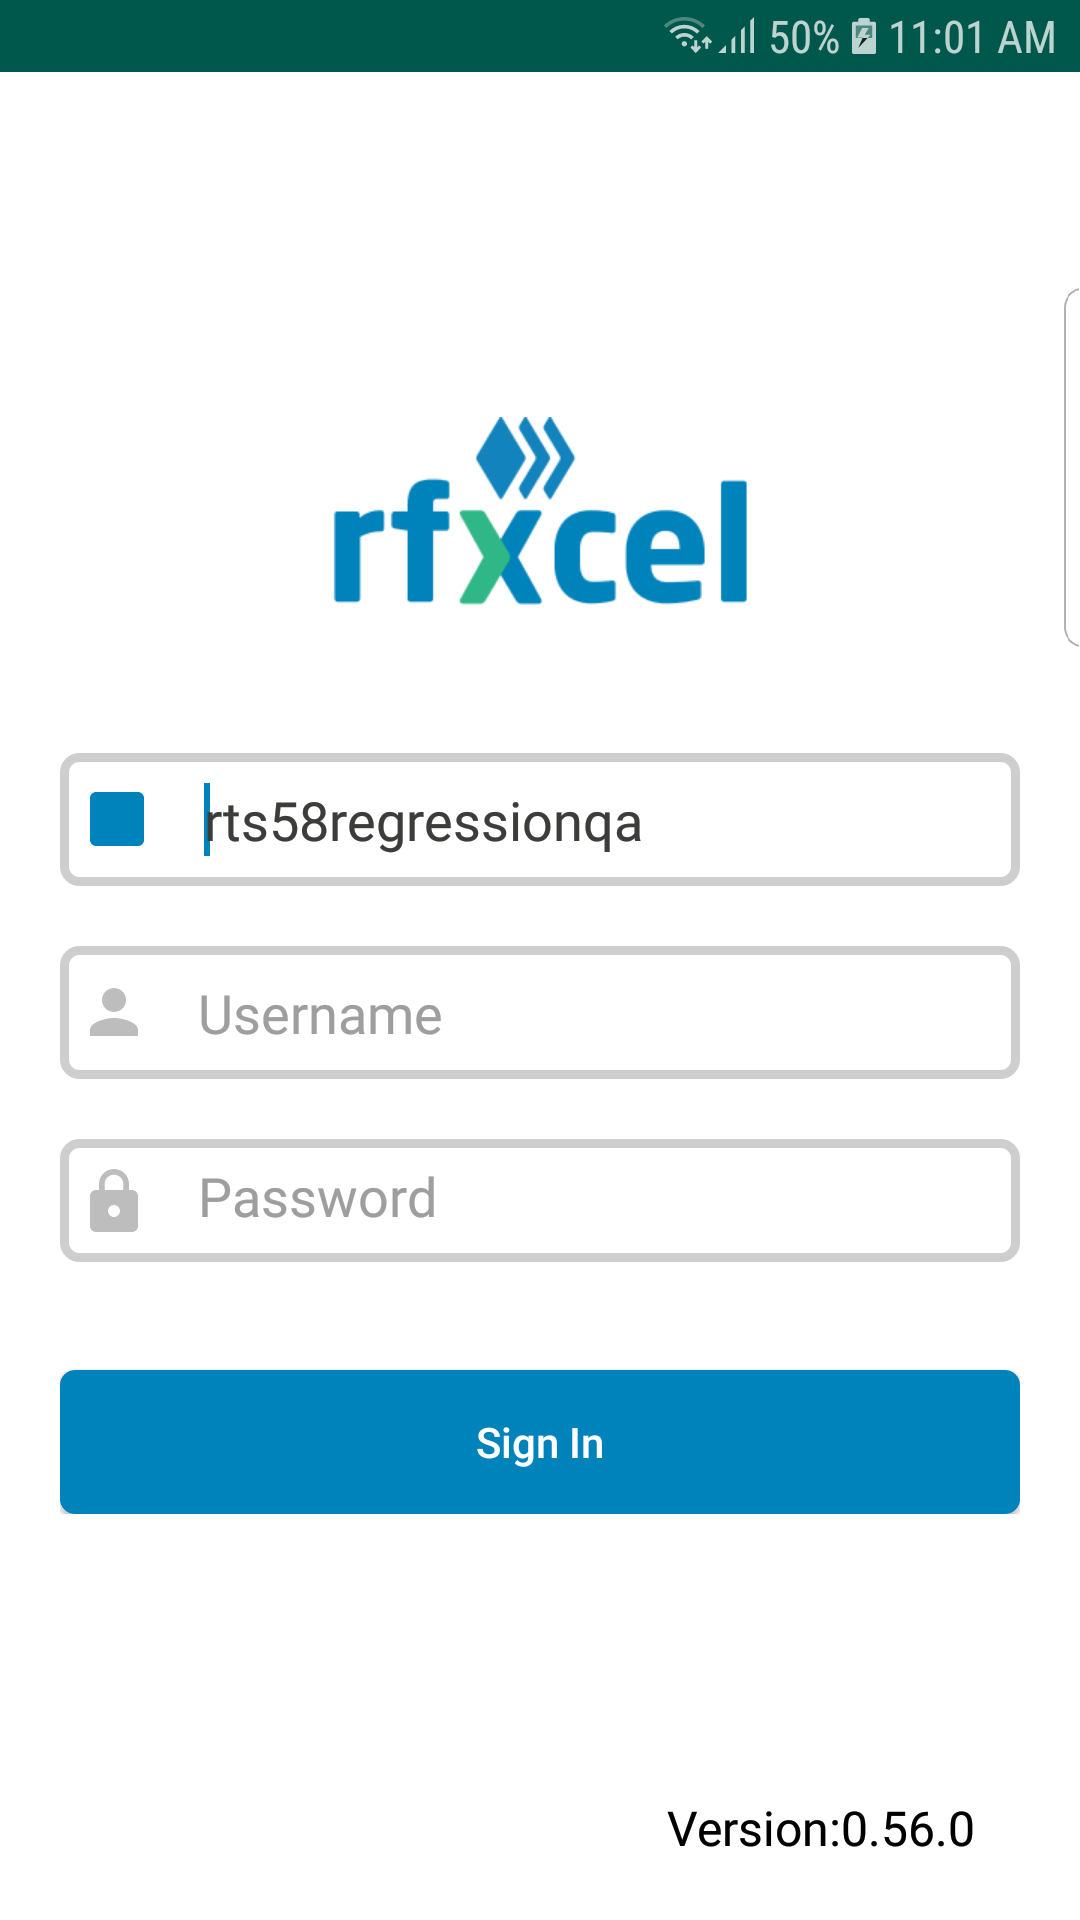
- Enter the Instance ID. Generally the instance ID will be the first part of your rTS web url. For example, if your rTS web url is 'test-dev-track-n-trace', then, the Instance ID will be 'test-dev'.
- Enter your Username and Password.
The system will validate the username and password for the instance. If the credentials are incorrect, you will get an error message; if the credentials are correct, you will see the following rfxcel mobile App Home screen:
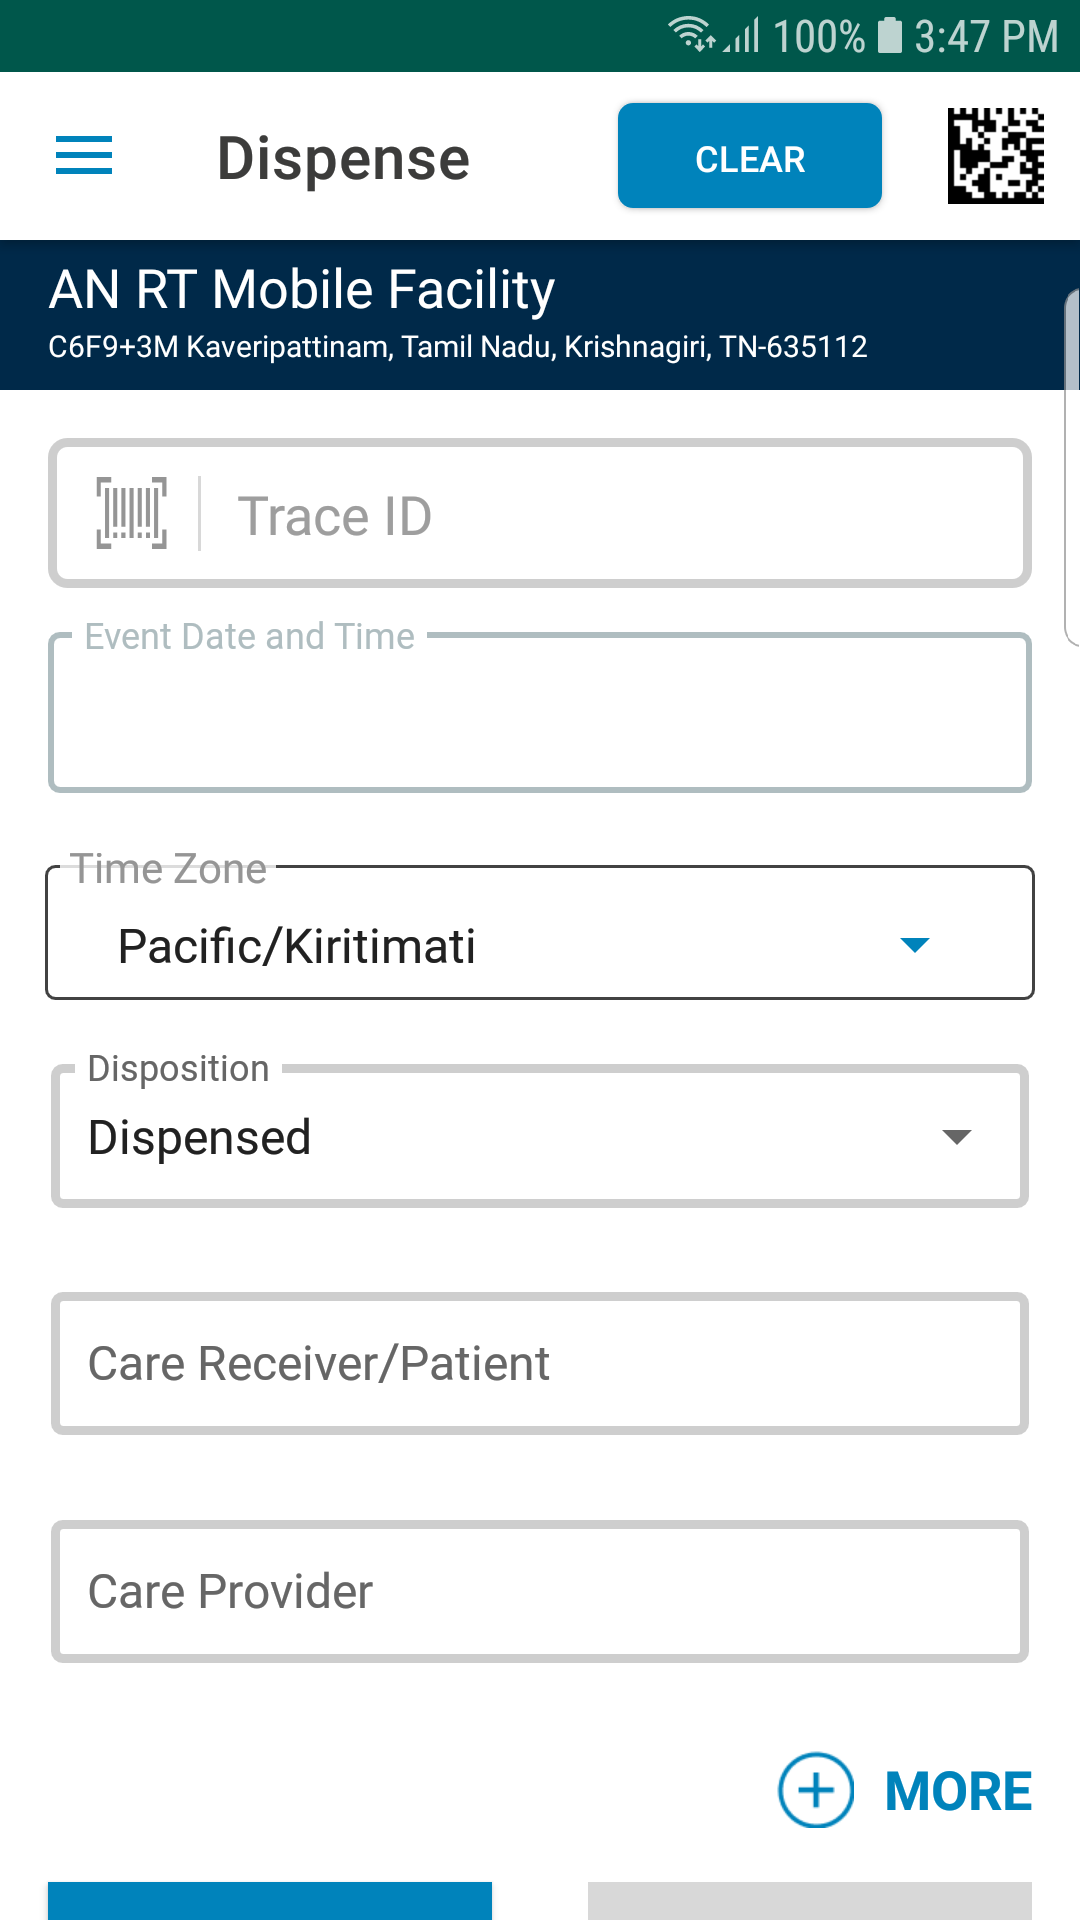
Note:
The Home page (default landing page) varies for each user login context. Whatever home screen set for the user at the back-end will be the default home screen for that user. The user cannot change the default home screen from the mobile app. For different users, different pages can be configured as the default Home page (landing page).
- You can access the menus by tapping on the three blue lines (
 ) on the top left corner of the application.
You will see the available menu as shown below:
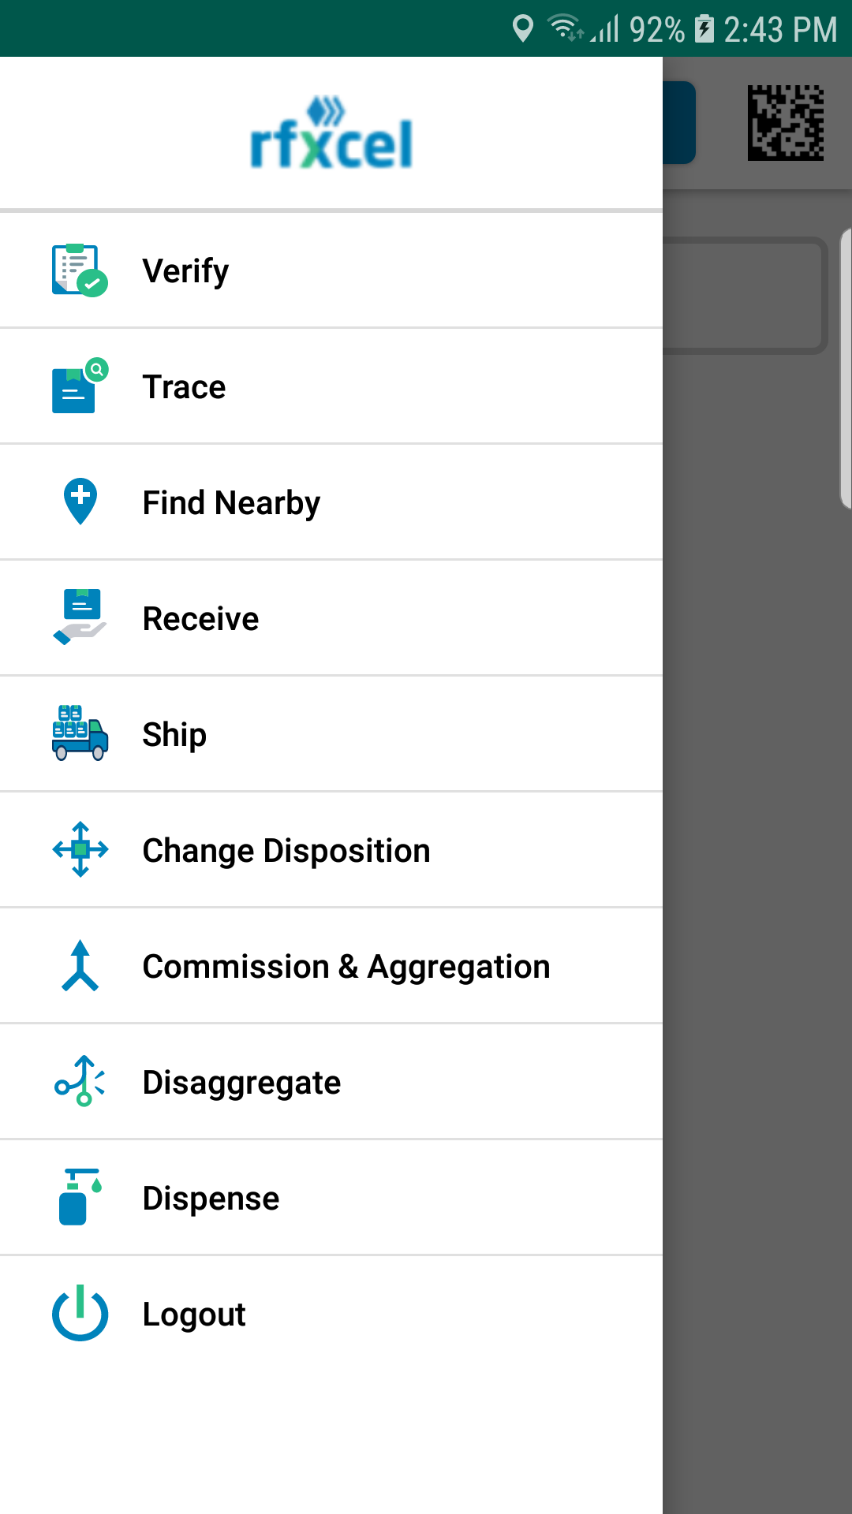
Note:
The menu that you have selected will not be displayed in the menu list. For example, if you have navigated to Verify screen, then, the Verify screen will not be displayed in the menu list.
When you log out of the mobile App, the Instance ID is retained so that you need not type the Instance ID every time you want to login. However, the username and password are cleared for security reasons.